
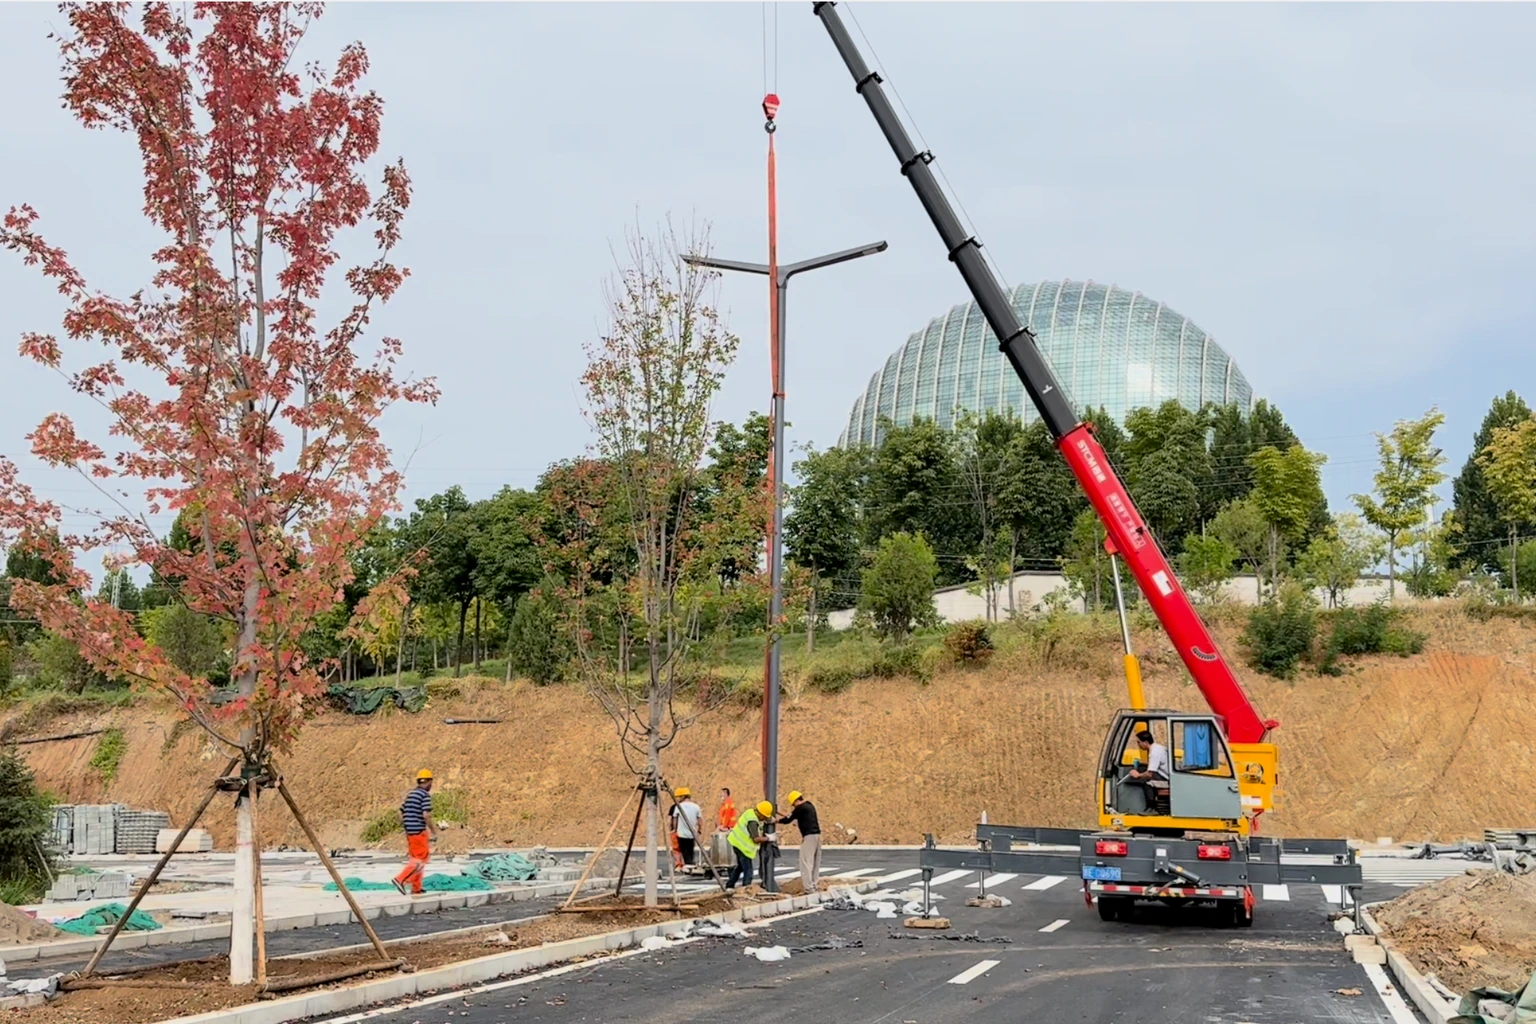
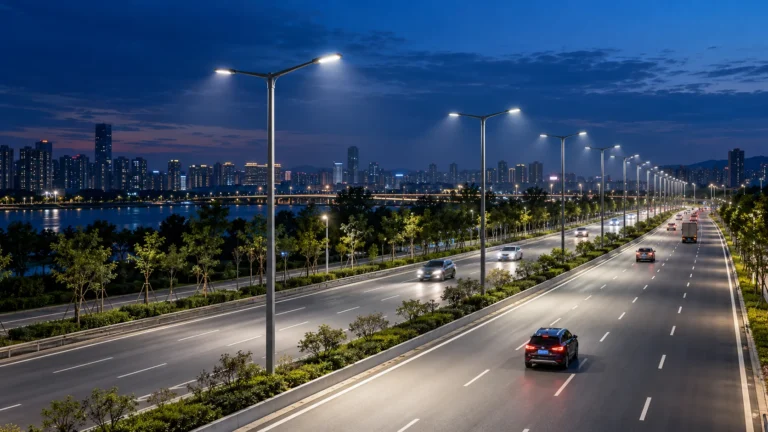
LED street light installation involves more than fixing a luminaire to a pole and connecting power. The completed system must place light where road users need it, control glare and spill light, withstand the installation environment, operate safely with the local electrical supply, and remain maintainable throughout its service life.
This guide explains the workflow for installing grid-powered LED street light fixtures on urban roads, highways, residential streets, industrial access roads, parking approaches, and similar outdoor routes. It is written for municipal buyers, EPC contractors, project engineers, electrical contractors, distributors, and road-lighting maintenance teams.
The process is suitable for new installations and for replacing existing HID or older LED roadway luminaires on retained poles. Solar street lighting, new pole foundations, underground cable design, and structural pole erection require additional model-specific and civil-engineering procedures beyond this guide.
All work must follow the approved drawings, luminaire manual, road authority requirements, local electrical rules, traffic-management plan, and site risk assessment. Only qualified personnel should perform electrical connections or work at height.

What Must Be Confirmed Before Installation?
Start with the road, not the luminaire catalog. Road classification, traffic speed, lane arrangement, pedestrian activity, conflict areas, pavement characteristics, surrounding brightness, and environmental restrictions all influence the lighting design.
The FHWA Lighting Handbook describes roadway lighting as a design process that considers visual performance, application conditions, environmental impacts, and controls. It also directs project teams to use the applicable current standards for their jurisdiction. The handbook does not replace the approved project criteria.
Before product selection or installation, record:
- Road classification, lane count, carriageway width, medians, intersections, curves, crossings, cycle lanes, and sidewalks
- Required lighting criteria and the standard or authority that defines them
- Pole coordinates, mounting height, setback, outreach, tilt, spacing, and arrangement
- Existing luminaire type, wattage, optics, controls, condition, and circuit allocation
- Pole, arm, bracket, access door, foundation, anchor, cable, terminal, and earthing condition
- Supply voltage, frequency, switching method, protection, control interface, and available circuit capacity
- Traffic-management requirements, working hours, access equipment, and road-closure restrictions
- Wind, temperature, rain, dust, humidity, corrosion, salt exposure, vibration, lightning, and surge conditions
- Nearby residences, windows, waterways, observatories, trees, overhead services, and other spill-light constraints
- Required certificates, test reports, photometric files, drawings, labels, warranties, and handover documents
For a retrofit, build a light-point register with a unique asset number for every pole. Link each asset to its location, existing fixture, circuit, replacement model, installation status, test result, and commissioning record.
Select the LED Street Light Fixture by Lighting Performance
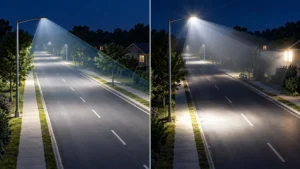
A watt-for-watt replacement is rarely a reliable design method. LED luminaires with the same power can produce different road coverage, glare, uniformity, and backlight because their optics and mounting geometry differ.
Use a project lighting calculation to confirm the luminaire, optical distribution, mounting arrangement, spacing, and control settings. The design should evaluate the criteria required by the road authority, which may include average and minimum illuminance, luminance, uniformity, glare, threshold increment, surround ratio, or vertical illumination.
Check the proposed LED street light fixture for:
- Photometric file and optical distribution suited to the road geometry
- Input and control compatibility with the project electrical system
- Environmental and mechanical ratings appropriate to the site
- Surge-protection arrangement coordinated with the project design
- Thermal performance at the expected ambient conditions
- Driver, dimming, photocell, control-node, or smart-lighting compatibility
- Mounting interface and adjustment range compatible with the approved pole arm
- Service access, replaceable components, spare-parts availability, and warranty procedure
- Required product certification and market-specific compliance documentation
Do not approve a luminaire solely because its lumen output exceeds the old lamp rating. Excess output with the wrong distribution can increase glare, light trespass, and energy use without improving useful road visibility.
Required Personnel, Tools, and Safety Controls
The final requirements must come from the approved method statement, local regulations, risk assessment, and product manual. A typical road-lighting installation may require:
- A qualified electrician and an authorized road-lighting supervisor
- Trained operators for the mobile elevating work platform or other approved access equipment
- An approved traffic-management crew, signs, cones, barriers, and vehicle protection
- Lockout/tagout devices and circuit-identification materials
- A correctly rated voltage tester or meter, checked before and after use
- Insulated tools suitable for the system and local electrical rules
- Manufacturer-specified fasteners, adapters, cable glands, seals, connectors, and safety retention
- Calibrated tools where the installation manual specifies controlled tightening
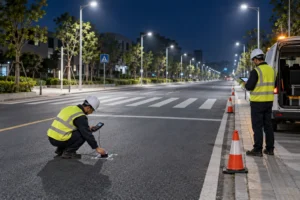
- A calibrated light meter and the approved measurement grid
- PPE required for electrical work, work at height, traffic exposure, falling objects, and the local environment
- Approved drawings, pole schedule, luminaire schedule, wiring diagrams, manuals, inspection forms, and commissioning sheets
Stop Work Conditions
Stop the installation and refer the issue to the responsible engineer, road authority, utility, or manufacturer if:
- The pole, arm, foundation, anchor, access door, cable, terminal, earth conductor, or enclosure is damaged or seriously corroded
- The circuit cannot be positively identified, isolated, locked out, and proven de-energized
- The luminaire label, input requirements, mounting interface, optic, control option, or wiring diagram differs from the approved schedule
- The pole or bracket capacity has not been confirmed for the new luminaire’s mass and projected wind area
- Traffic control or fall-protection arrangements are incomplete
- Overhead lines, moving traffic, unstable ground, severe weather, or other hazards make access unsafe
- Water is present in the pole, junction box, terminal area, or luminaire connection compartment
- Required adapters, seals, fasteners, tightening values, or model-specific instructions are unavailable
- The installation would obstruct the optic, drainage path, service access, antenna, photocell, or control node
Step-by-Step LED Street Light Installation
1. Audit the Road and Existing Lighting Assets
Verify the approved site plan against actual conditions. Record pole locations, heights, spacing, outreach, setback, road geometry, obstructions, circuits, cabinets, and control points. For a retrofit, photograph the existing luminaire, pole arm, mounting spigot, pole door, terminal block, label, and any visible defect.
Measure baseline lighting at repeatable points and under controlled conditions. Record the measurement grid, meter position, weather, traffic conditions, contribution from nearby lighting, and control state. This creates a defensible comparison for commissioning.
2. Finalize the Lighting Layout and Fixture Schedule
Run the lighting calculation using the proposed luminaire’s actual photometric file. Confirm the model, wattage, optic, color characteristics, mounting orientation, tilt, control configuration, and asset location for every light point.
Review curves, intersections, pedestrian crossings, merge areas, bus stops, and transitions between bright and dark zones separately. A standard fixture used on a straight road may not be suitable for every conflict area.
Issue an approved luminaire schedule before installation. The installer should not choose optics or tilt angles in the field without authorization.
3. Approve a Pilot Road Section
Install a representative pilot section before releasing a large rollout. Include the road types, pole arrangements, nearby properties, and control functions most likely to expose design risks.
Inspect the pilot at night from the driver’s, pedestrian’s, and maintenance team’s perspectives. Measure the specified lighting criteria, review glare and shadows, confirm transitions and spill light, and test dimming or smart controls. Record any approved design adjustment and update the drawings and schedule before mass installation.
4. Inspect and Stage the Delivered Equipment
Check the delivery against the bill of materials and approved schedule. Verify luminaire model, optic, power configuration, mounting adapter, control option, labels, accessories, and documentation before the equipment reaches the road.
Inspect housings, lenses, gaskets, cable entries, connectors, brackets, and controls for transport damage. Keep luminaires in their protective packaging until installation and follow the manufacturer’s storage instructions.
Pre-assign each luminaire to its asset location where models or optics vary. This prevents an outwardly similar fixture from being installed on the wrong road section.
5. Establish Traffic Control and Electrical Isolation
Set up the approved work zone before positioning access equipment or unloading materials. Maintain safe movement for vehicles, cyclists, pedestrians, and emergency services in accordance with the traffic-management plan.
Warning: switching a lighting circuit off at a local control is not proof that it is de-energized. Identify every possible supply, isolate it through the authorized procedure, apply lockout/tagout controls, and have a qualified person verify absence of voltage with suitable test equipment. For U.S. work, OSHA requires the relevant isolation, lockout/tagout, and verification steps before equipment is treated as de-energized. Other projects must apply the corresponding local electrical-safety requirements.
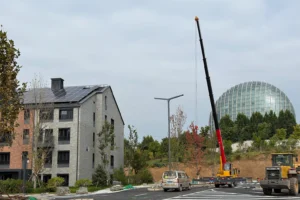
Do not raise a platform or pole-handling equipment until overhead-clearance, ground-condition, outrigger, traffic, and weather checks are complete.
6. Remove the Existing Roadway Luminaire
Support the existing luminaire before releasing its fasteners. Disconnect and remove it in the sequence specified by the site method statement. Avoid twisting the pole arm, damaging existing cable insulation, or allowing components to fall into the carriageway.
Inspect the exposed mounting arm, spigot, cable, earth connection, and entry path. Clean only by an approved method and replace damaged parts through an authorized repair. Do not conceal corrosion, cracked insulation, water entry, or an unsuitable adapter beneath the new luminaire.
Segregate removed HID lamps, drivers, ballasts, photocells, surge devices, electronic controls, metals, and packaging for recycling or disposal under local rules.
7. Mount and Orient the LED Street Light Fixture
Confirm the asset number and luminaire schedule before lifting the new fixture. Check that the mounting adapter and spigot dimensions match the approved configuration.
Warning: never improvise an adapter, drill the luminaire housing, or substitute unapproved fasteners. These changes can compromise structural retention, enclosure sealing, electrical safety, and warranty coverage.
Follow the model-specific manual to:
- Route the supply and control cable without pinching, abrasion, or strain.
- Seat the luminaire fully on the approved mounting interface.
- Set the side-entry or post-top orientation and tilt shown on the drawing.
- Align the luminaire relative to the carriageway and its marked optical direction.
- Install the specified fasteners, locking features, and safety retention.
- Apply the manufacturer-specified tightening values with the required tool.
- Maintain cable-entry, gasket, drainage, and enclosure integrity.
Do not aim a street light by visual guesswork. A small orientation or tilt error can alter road coverage, glare, backlight, and uniformity across the installation.
8. Complete Electrical and Control Connections
Warning: use only the wiring diagram supplied for the exact luminaire and control configuration. Conductor colors, terminal arrangements, dimming interfaces, photocells, and control nodes vary by product and market.
The qualified installer should confirm the protective-earth arrangement, supply and control terminals, cable gland, strain relief, conductor condition, surge-protection arrangement, and enclosure closure. Keep mains and control wiring arranged as required by the product instructions and approved drawing.
For a smart street lighting system, assign the device identity, pole asset number, network information, control group, and default behavior according to the approved commissioning schedule. Do not leave factory-default schedules or unrecorded network settings in service.
9. Inspect Before Energization
Complete the approved inspection and test plan before restoring power. Depending on the project and local rules, this may include visual checks, protective-conductor continuity, insulation testing, polarity, protective-device verification, circuit identification, enclosure closure, and control-cable checks.
Confirm that:
- The installed model, optic, orientation, and control option match the schedule
- The luminaire and pole access door are closed and secured
- Cables are not trapped, unsupported, or exposed to sharp edges
- All required seals, covers, safety devices, and asset labels are in place
- Tools, packaging, loose parts, and personnel are clear
- The work zone remains controlled for initial energization
Record the inspection result against the light-point asset number.
10. Energize, Configure, and Test the System
Remove locks and tags only through the authorized procedure. Energize the project by controlled circuit or zone and observe the installation before expanding the test.
Verify that every luminaire starts and remains stable. Check switching, photocells, dimming, schedules, control nodes, energy monitoring, fault reporting, and loss-of-communication behavior where included. If a protective device operates, a luminaire behaves abnormally, or the field configuration differs from the drawings, isolate the affected circuit before investigation.
For smart systems, confirm that the platform identifies the correct physical asset. Issue on/off or dimming commands to selected fixtures and verify the field response rather than relying only on a dashboard status.
11. Perform Nighttime Road-Lighting Commissioning
Inspect the road after dark under the control state defined for acceptance. Confirm luminaire orientation, dark patches, excessive brightness, glare, spill light, property intrusion, tree obstruction, and transitions at intersections or project boundaries.
Take measurements at the approved grid points using the required method. Compare results with the project criteria and photometric design. Do not compensate for an unsuitable optic or mounting error by increasing power without an approved engineering review.
Record all adjustments. If aiming, output, control settings, or fixtures change, update the asset register and repeat the affected acceptance checks.
12. Handover the Road-Lighting Installation
The handover package should include:
- Approved and as-built road-lighting drawings
- Final pole and luminaire asset register
- Fixture schedule, product data, and model-specific instructions
- Electrical inspection and test records
- Nighttime photometric measurement results
- Control-system configuration, user roles, backups, and training records
- Product certificates and project-required compliance documents
- Warranty terms, spare-parts list, and service contacts
- Removed-equipment and waste-disposal records where required
- Defect list, responsible party, corrective action, and closeout status
Do not accept the project only because all luminaires illuminate. Acceptance should confirm the approved road-lighting performance, electrical safety, controls, asset records, and maintainability.
Common LED Road Lighting Installation Mistakes
Selecting Fixtures by Wattage or Lumens Alone
Roadway performance depends on optics, pole geometry, spacing, pavement, glare control, and maintained output. Use project photometrics and an approved design.
Ignoring Pole and Bracket Compatibility
The mounting interface, luminaire mass, projected area, and wind loading must suit the retained structure. An adapter that physically fits is not automatically structurally acceptable.
Installing the Correct Fixture in the Wrong Location
Different optics may look identical from the ground. Link every fixture to a defined pole asset and verify it before lifting.
Copying One Tilt Angle Across the Whole Project
Curves, intersections, medians, sidewalks, pole setbacks, and nearby properties can require different approved configurations.
Skipping Night Commissioning
Daytime electrical testing cannot reveal glare, dark areas, property spill, transition problems, or incorrect optical orientation.
Leaving Smart Controls Unverified
A connected node is not commissioned until its asset identity, command response, schedule, dimming behavior, alarms, and fallback state have been tested.
Operation, Shutdown, and Maintenance
Operate the installation with the approved switching and dimming schedule. Restrict configuration changes to authorized personnel and keep an audit record of revised schedules, output levels, control groups, and firmware or platform changes.
Plan inspections around the luminaire manual, local maintenance standard, environmental exposure, fault history, and road criticality. Typical checks include lens contamination, water entry, corrosion, fastener condition, bracket movement, pole-door security, cable condition, surge-device status, control communication, and changes in vegetation or surrounding development.
Before opening, cleaning, repositioning, or replacing any street-light component, establish traffic control, isolate all applicable energy sources, lock and tag them under the authorized procedure, and verify the de-energized state. Use model-matched drivers, seals, surge devices, controls, and other service parts.
What to Send an LED Street Light Fixture Supplier
To receive a project-specific proposal, provide:
- Project country, road authority, and applicable lighting standard
- Road plans, cross-sections, lane widths, medians, sidewalks, intersections, and conflict areas
- Pole coordinates, mounting height, spacing, setback, outreach, and arm details
- Existing luminaire, pole, bracket, cable, cabinet, control, and electrical information
- Required lighting criteria and maintenance assumptions
- Environmental, wind, corrosion, surge, and temperature conditions
- Dimming, photocell, smart-control, monitoring, and communication requirements
- Required photometric files, calculations, drawings, certificates, samples, and tender documents
- Quantity, delivery schedule, destination, packaging, spare-parts, and warranty requirements
Jinborui supplies LED street light fixtures, roadway luminaires, smart lighting systems, and customized lighting poles for municipal, EPC, and infrastructure projects. Engineering support can include product selection, DIALux calculations, technical datasheets, CAD drawings, and installation guidance based on the approved project requirements.
Planning a new road-lighting installation or an LED street light retrofit? Send your road drawings, pole schedule, lighting criteria, and project requirements for a project-specific fixture proposal and quotation.

Written by
sonycao1975@gmail.com
Solar energy specialist at Jinborui Electric Co., Ltd. -- delivering reliable photovoltaic solutions for government and engineering projects worldwide.


Leave a Reply